4 Ways to Handle Read-only Cells
· Updated
For up-to-date Handsontable documentation, see handsontable.com/docs.
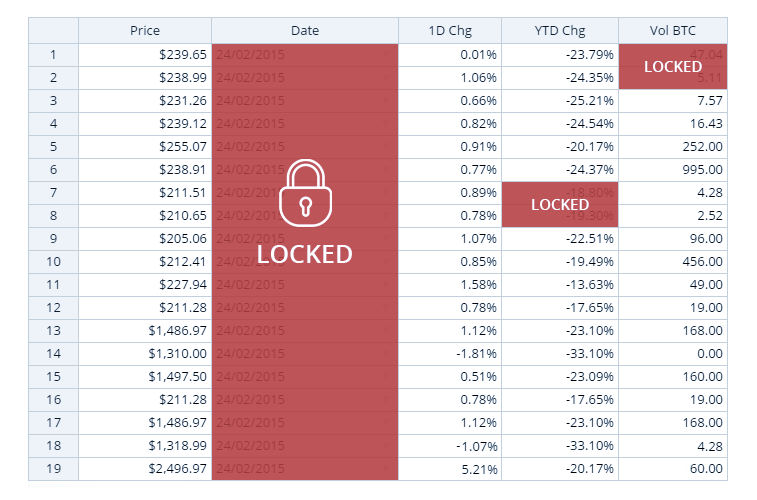
Handsontable enables you to change and manipulate data. But every spreadsheet has its constants, such as data coming from external sources. Regardless of the type of information you are dealing with, I will show how to protect your data easily by locking cells, rows, columns or ranges in Handsontable.
Handsontable is intended, for most of the time, to easily edit data. But in every spreadsheet there are areas that should stay intact, for example constant values or variables taken from external sources. Whichever it is, I will show you how to easily protect your data by locking certain cells, rows, columns or ranges in Handsontable.
Let’s start with some basics first. When a cell is set to read-only, then:
- It is immutable for changes
- A cell editor doesn’t open
- It has a new class name (
htDimmed) which paints it gray - It doesn’t trigger
beforeChangeandafterChangecallbacks - It can’t be changed via the context menu to editable if set in the
cellsconfiguration - It still can be selected
- It still can be copied
See also: Read-only cells vs non-editable cells
Read-only: entire spreadsheet
To do so, lock all of the cells at once and simply set readOnly to true in the grid’s configuration. The entire spreadsheet will be turned into a passive table that can be read-only for the users. See it live in the example below:
Read-only: columns only
If only some columns should stay editable with the rest being locked, you should define the readOnly state for certain columns in the configuration.
In the example above we have created a list of Clients. You can find their Name and Surname, which we don’t want to change. The list also contains their contact data: Telephone and E-mail which can change over time, hence the users are allowed to modify them inside the grid.
You can also revert the configuration by passing on only the columns that should not be set to read-only state:
Last but not least, there is a prop parameter passed via cells method. It links the readOnly state to the provided property passed in the source.
Read-only: rows only
Setting your rows to read-only is as simple as in the previous examples. You will need to refer to the col parameter instead of row in your cells method. This is shown in the simple demo below:
In this case we set the second row to read-only (the one with the index 1).
Read-only: certain cells
In some situations you might want to lock only certain cells instead of whole rows or columns. To do that you should use the cells method to pass on the coordinates (row, col) of the read-only cells.
In the example above I have created an instance in which cells containing the readOnly value become read-only. You can replace the value triggering the read-only state with any other text.
Conclusion
The read-only state is by far one of the most commonly used features of Handsontable. It gives you full control over which cells, rows or columns can be edited and which should be locked. Learn more about this feature from our documentation.