A Complete Guide to Changing the Size of Handsontable
 Recipes / March 31, 2016
For up-to-date Handsontable documentation, see handsontable.com/docs.
One of the basic things you can do with Handsontable is adjusting it to the existing layout. In this article I will guide you through the configuration options which will make Handsontable work the way you like.
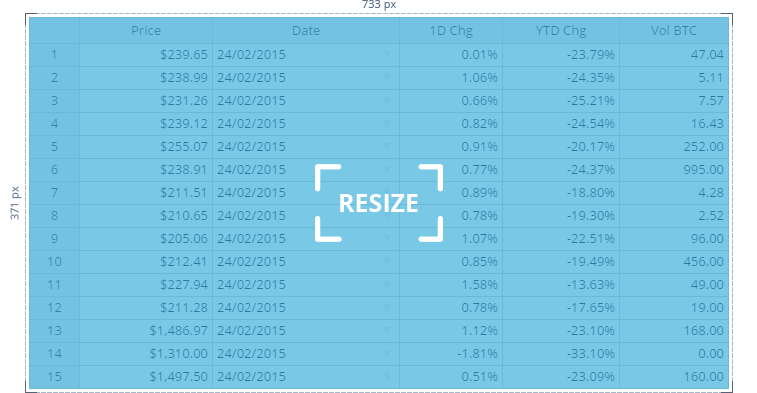
Handsontable was created with performance in mind, therefore it supports relatively large data sets, even those exceeding 100k rows. To navigate effectively within such an amount of information you may need to limit the container’s width and height.
Handsontable by default fills its nearest parent element which has a defined width, height and the CSS overflow property set to hidden. Having that, you can expand your Handsontable to the window’s dimension and use the native scrollbars to navigate through the grid. Here are your options at a glance:
- Scroll both vertically and horizontally inside a limited HTML container,
- Scroll vertically inside an HTML container and horizontally inside the window (coming soon),
- Scroll horizontally inside an HTML container and vertically inside the window,
- Scroll both vertically and horizontally inside the window.
This gives you almost complete freedom in fitting Handsontable into your layout. Further in this article you will find the details on how to set it all up.
1. Fixed width and height
You can enter a certain width and height of Handsontable directly in the configuration, ultimately before initializing it, for example:
width: 500,
height: 500
That defines the container’s width and height in pixel values and adds the overflow: hidden property.
You can also define the size using pure CSS:
.hot-container {
    width: 500px;
    height: 500px;
    overflow: hidden;
}
If you use CSS then make sure you set the overflow property to hidden, as Handsontable won’t adjust properly without it. The CSS selectors can used interchangeably with the JavaScript configuration but shouldn’t be used at the same time.
Additionally, if your spreadsheet doesn’t have enough columns to fill the container, you can use the stretchH option to stretch the columns to the maximum table’s width. See the demo below:
In the demo above we have five columns stretched to the width of 650px. Using the mentioned stretchH option is the easiest way to fill the entire container. Read more about it in our documentation .
2. Fixed height only (Coming soon)
If you provide height only and decide to leave the width indefinite then the spreadsheet will expand to the window’s full width (or any parent element with defined dimensions and overflow: hidden).
This option is not yet available but we plan to add it soon.
3. Fixed width only
If you set only the table’s width, it won’t render properly until you use the preventOverflow option. By setting it to horizontal your spreadsheet will have the width of a parent container and the height of the window. Scrollbars will appear if needed. Basically, the preventOverflow option prevents the table from overflowing the parent container in the provided dimension, in this case – horizontal.
4. No width and height
If there are no height and width settings passed in the configuration, the table will vertically and horizontally fill the entire window (again, or any parent element with defined dimensions and overflow: hidden).
Conclusion
Handsontable becomes as simple and a flexible tool when you know the basics. Even if your layout requires placing multiple instances on the same page, with the guide above you should be covered.
What’s more, you can change the size dynamically any time after the initialization by using the updateSettings code to update the dimensions.
Aleksandra Budnik
An expert in research and analytics. She also used to run her own e-commerce business.